
80mm Thermal POS Printer - 220mm/s High Speed, Auto Cutter, Multi-System Compatible for Shops
pos836 USB1 / EU
€81,95
Sale price
€81,95
Regular price
Skip to product information


80mm Thermal POS Printer - 220mm/s High Speed, Auto Cutter, Multi-System Compatible for Shops
€81,95
Sale price
€81,95
Regular price
Taxes included.
Shipping calculated at checkout.
SPECIFICATIONS
Application: For Commercial
Battery Included: no
Black Print Speed: 200mm/sec
Brand Name: HZTZ
Choice: yes
Consumable Type: Thermal Paper
Control Method: App,Push button
Double-sided Printing: No
Function: PRINT
High-concerned chemical: none
Interface Type: USB/LAN/Bluetooth
Max Paper Size: A5
Max. Resolution: 203dpi
Origin: Mainland China
Output Type: black and white
Paper Feed Mode: Friction Feed
Print Speed: 31ppm
Signal Connection Type: Bluetooth
Size: 80mm
Supports Network Printing: Wired/Wireless
Type: Thermal Printer
Voltage: 220V
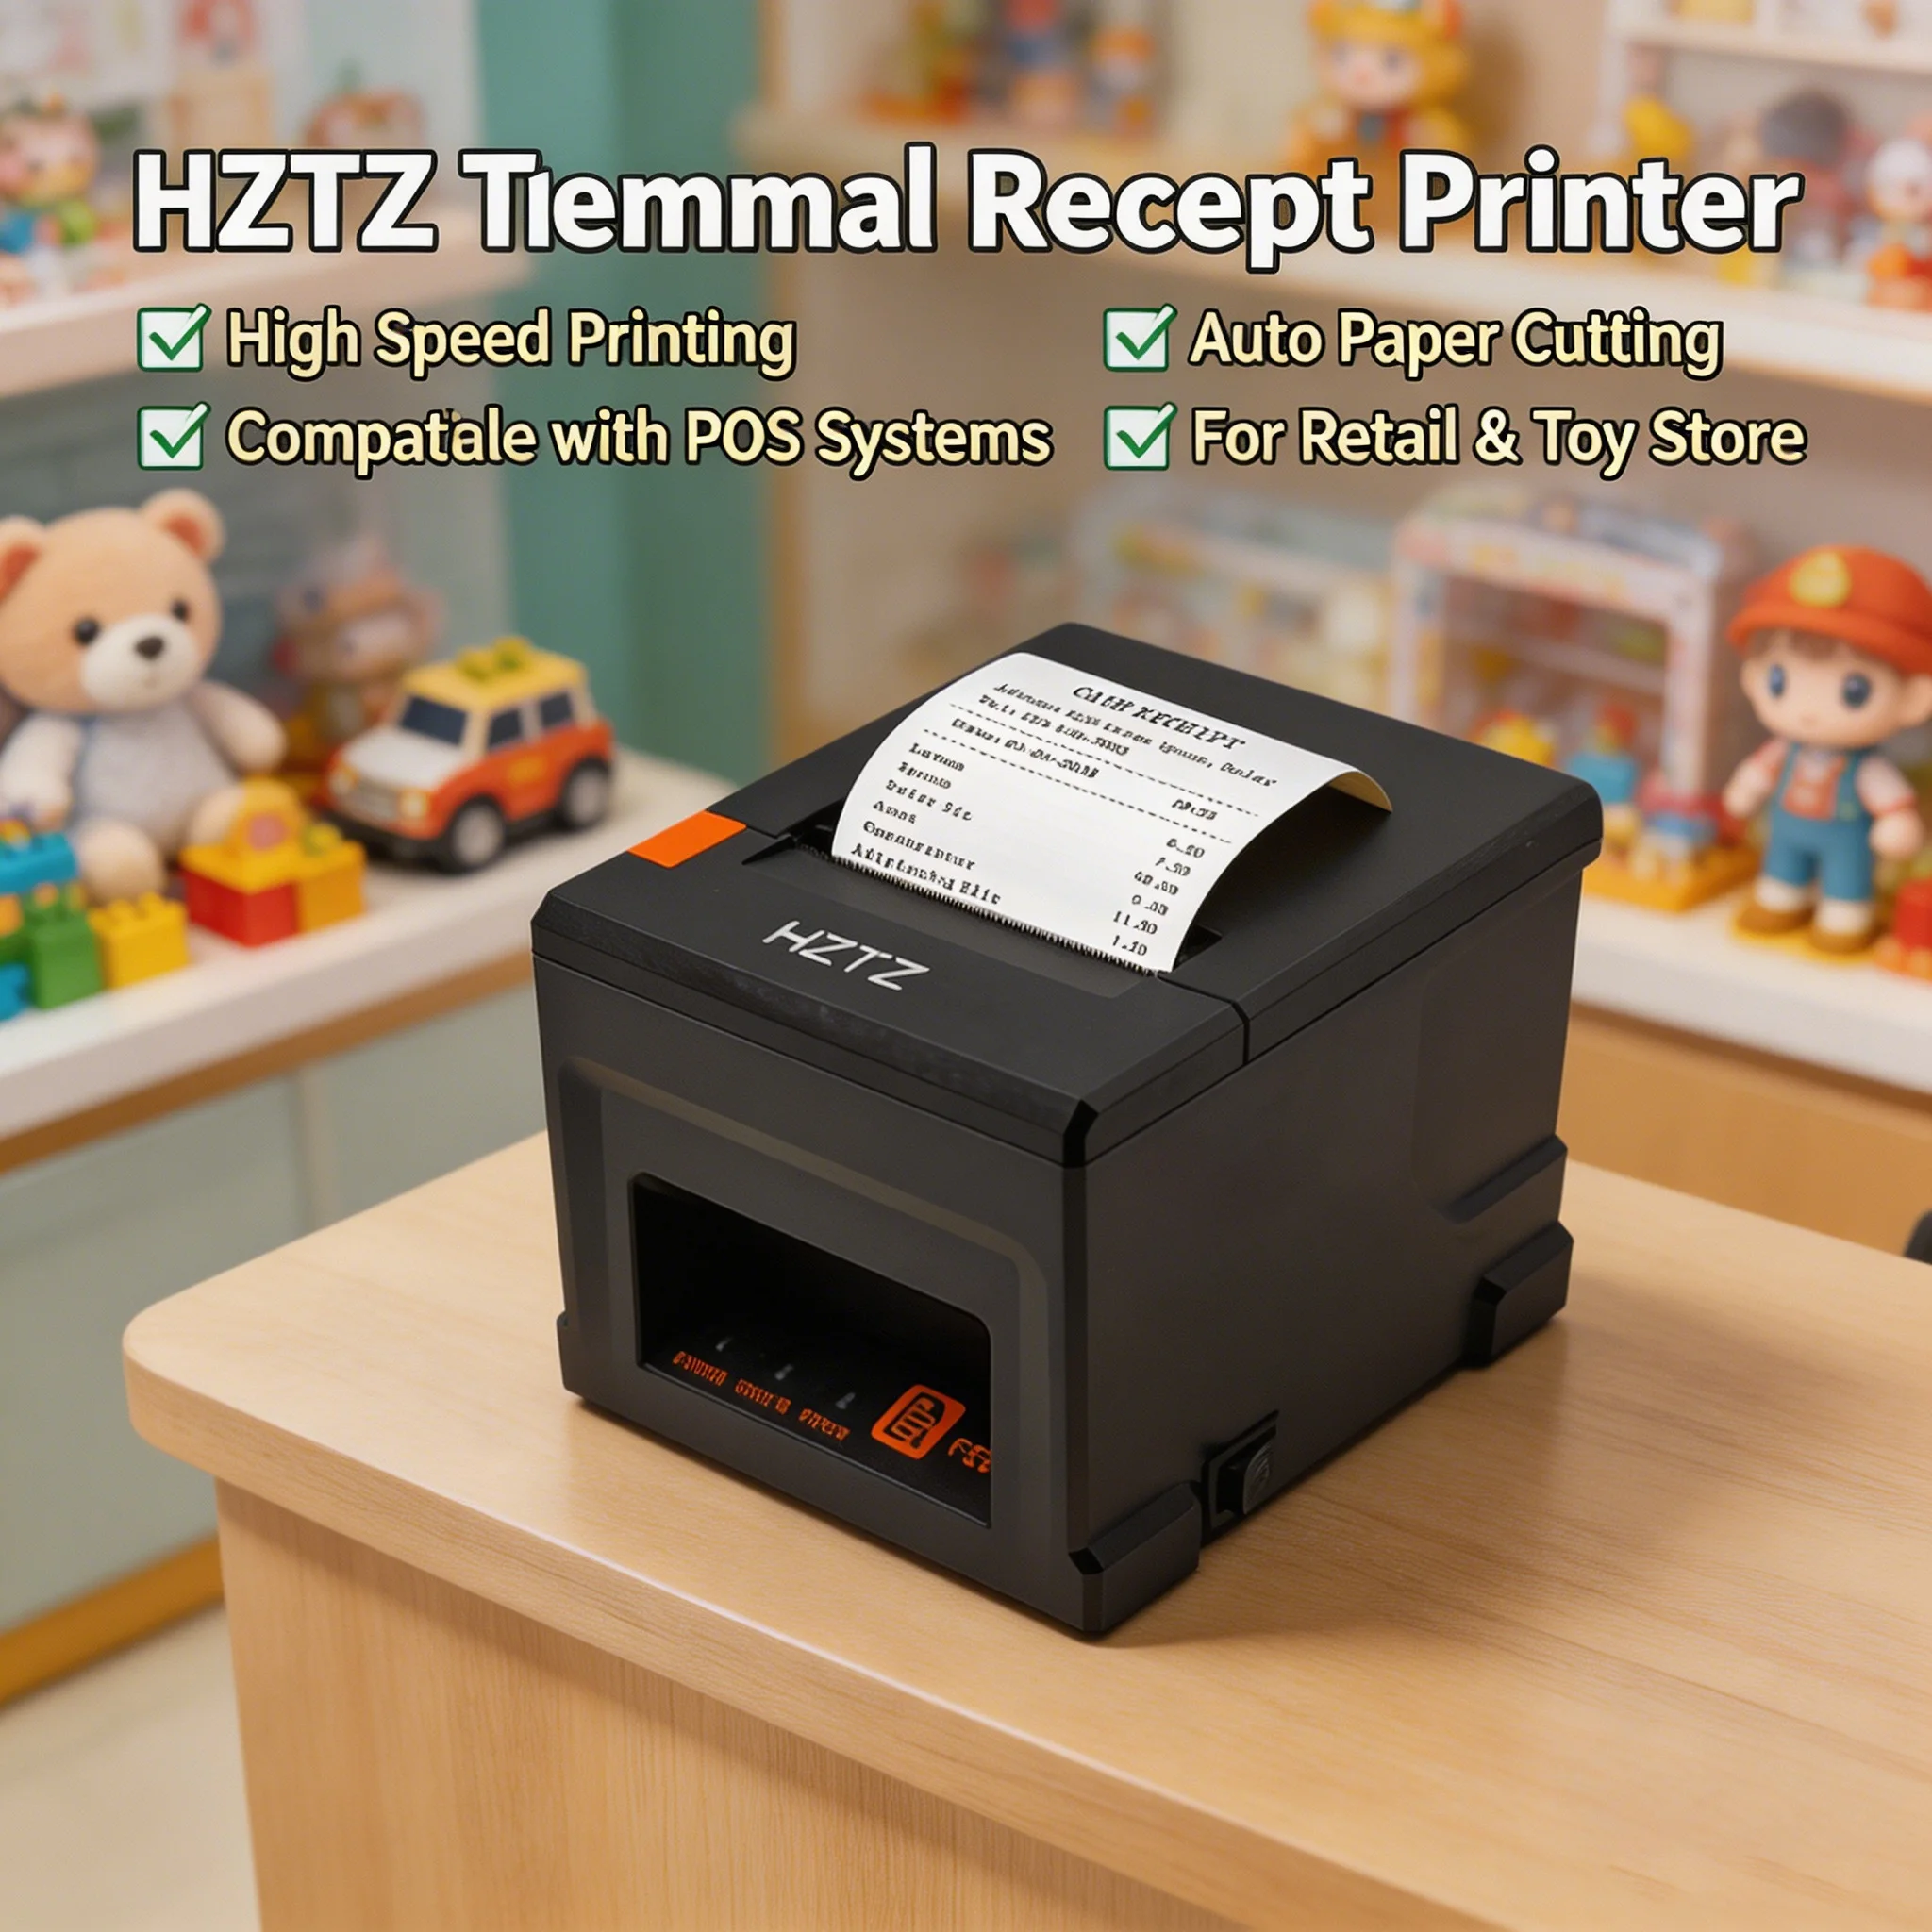
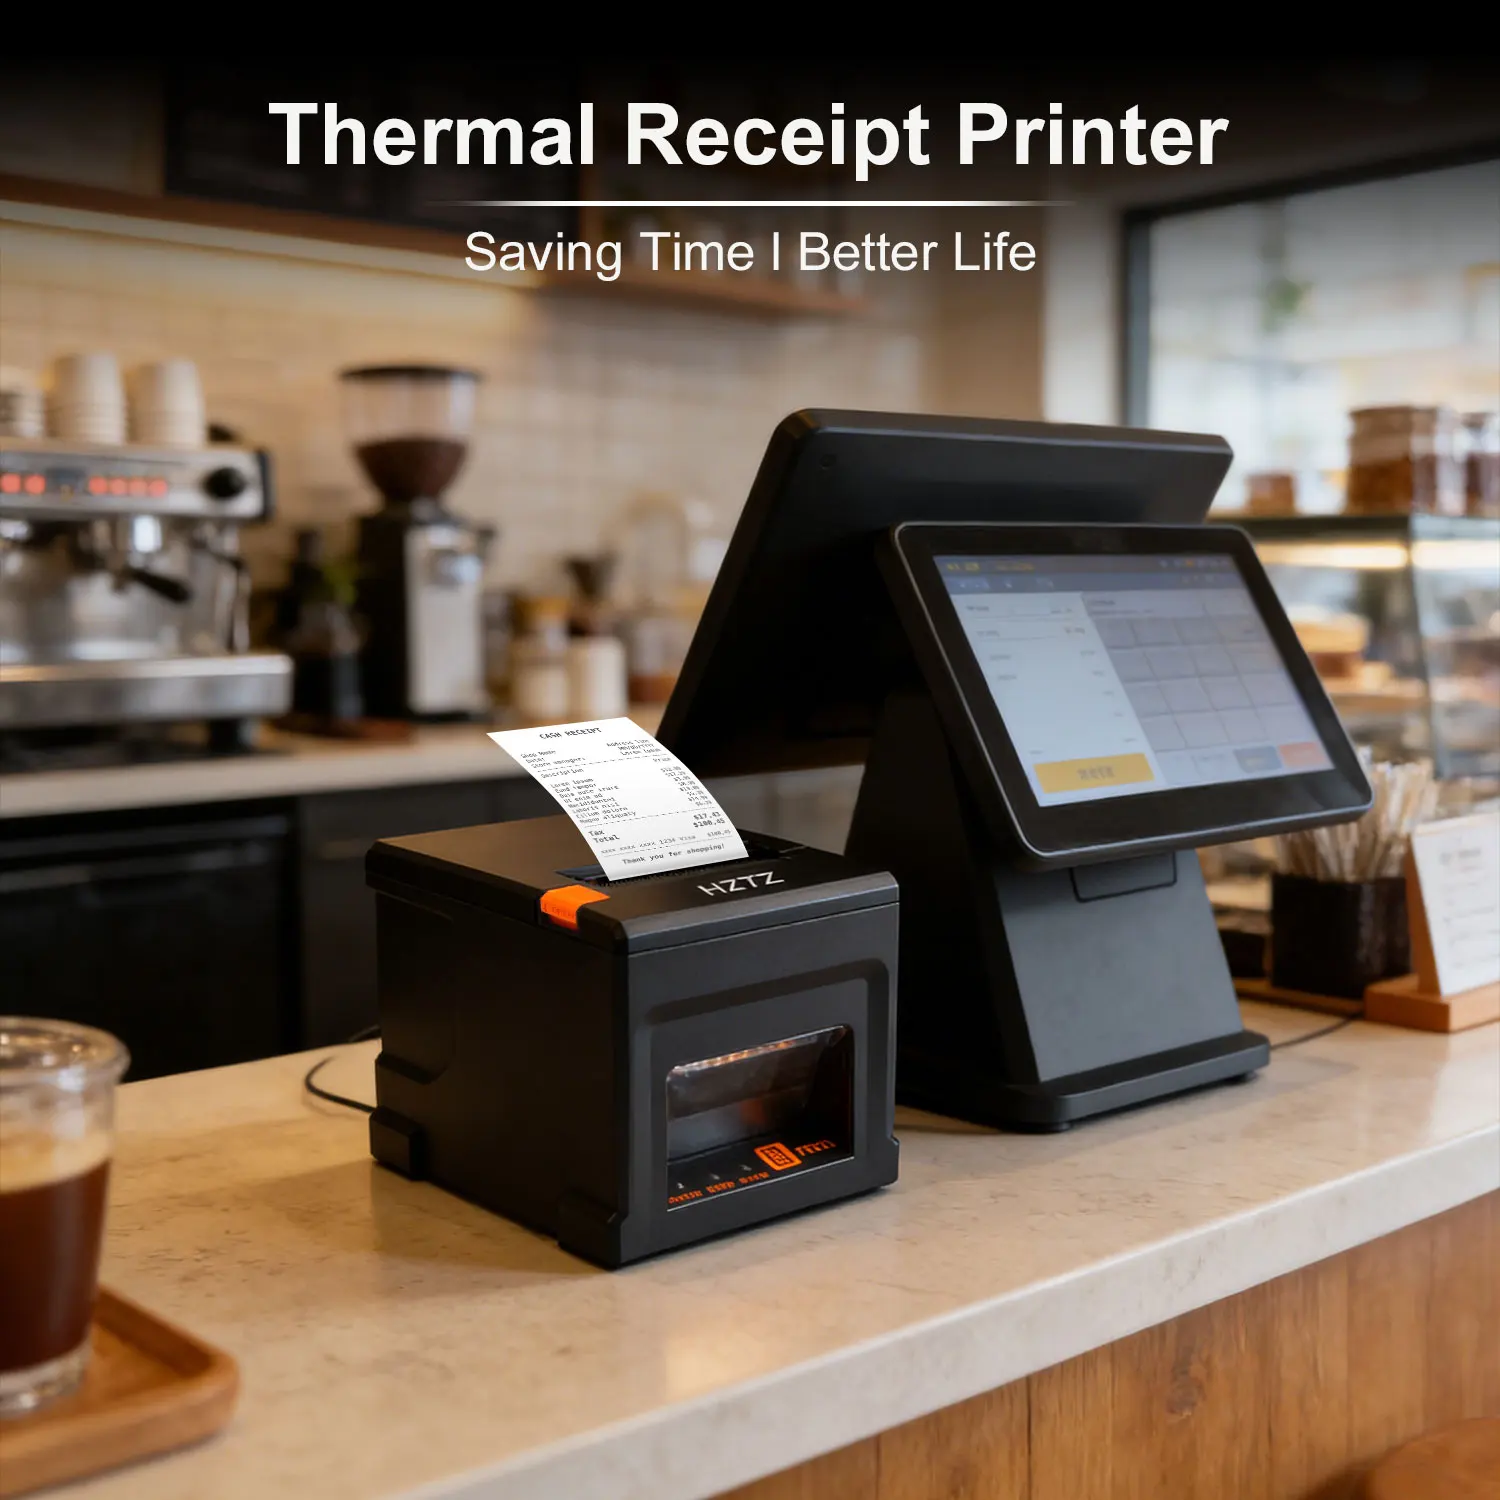
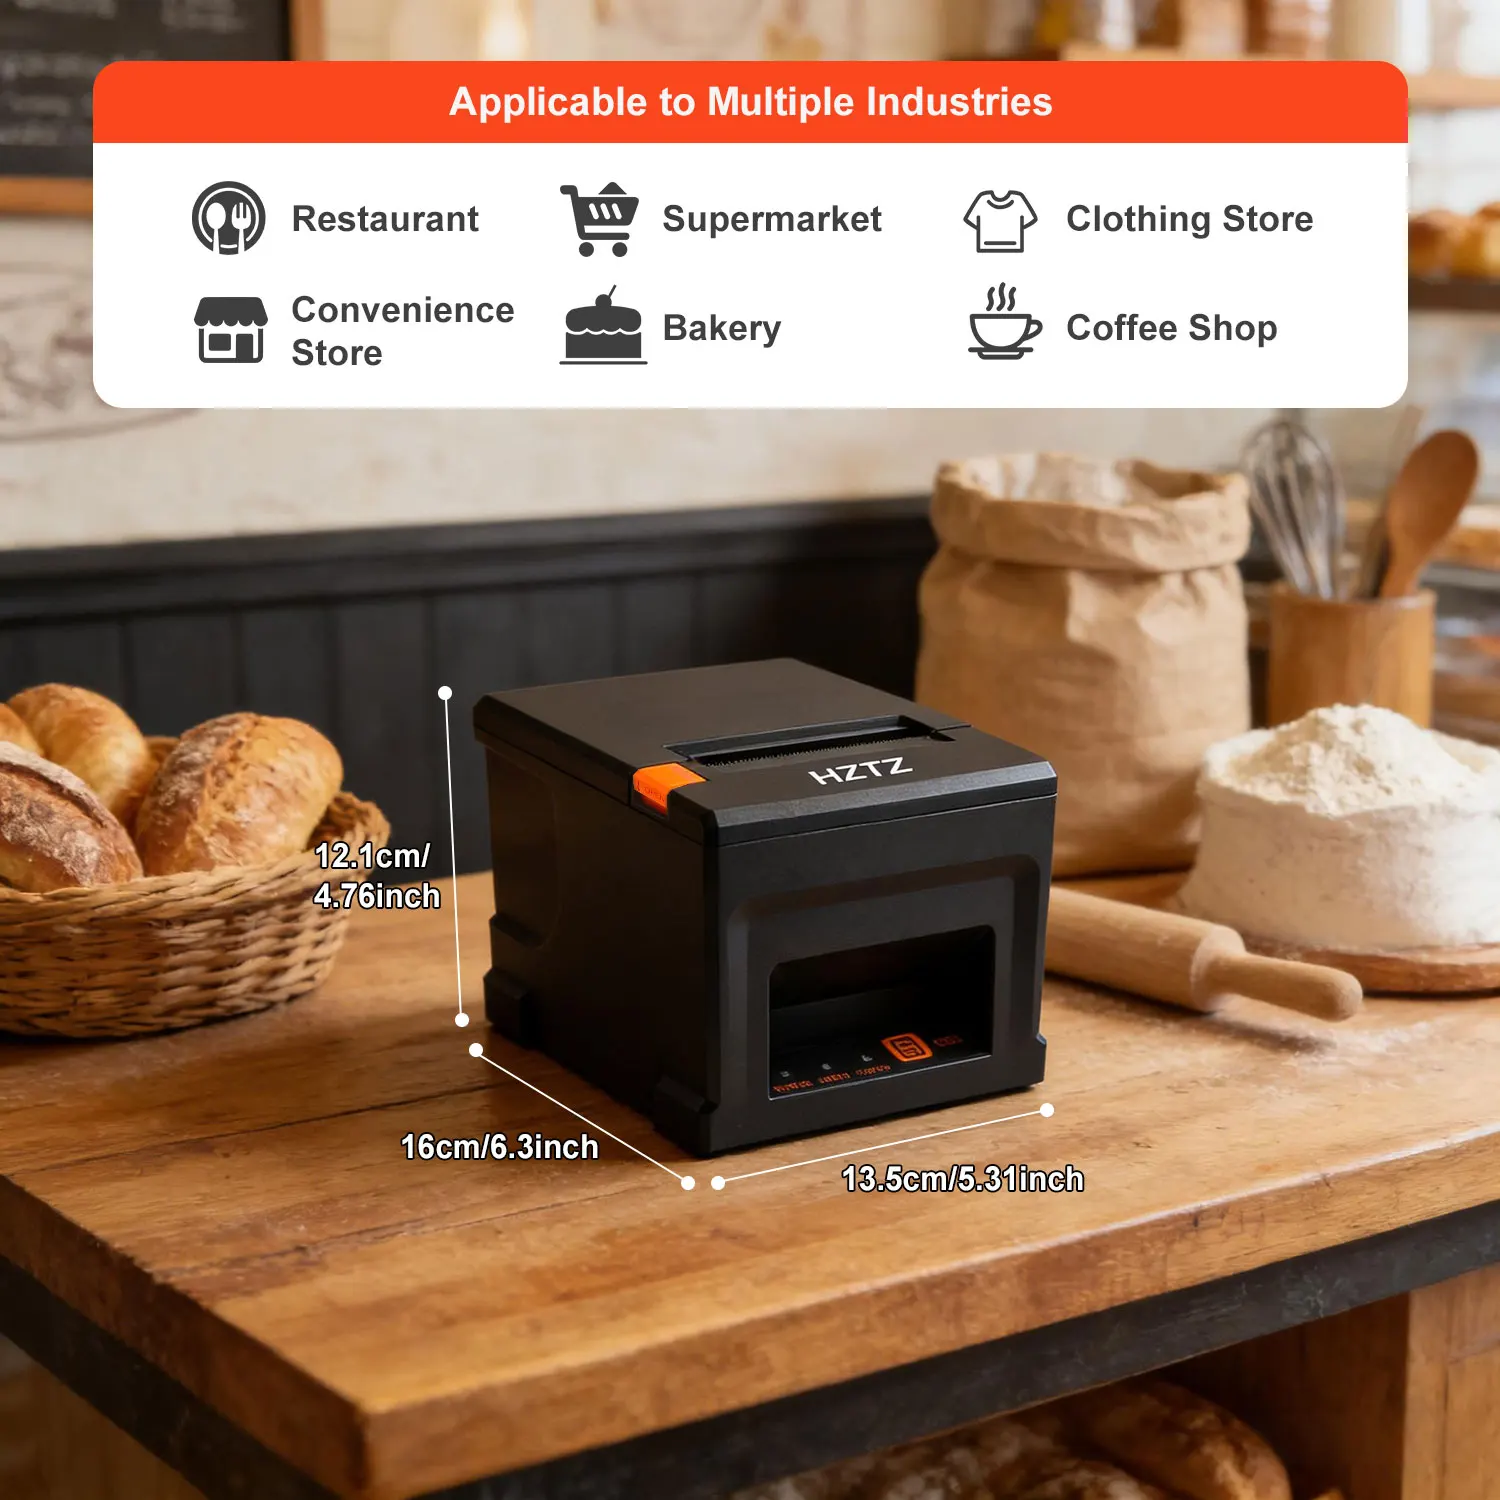
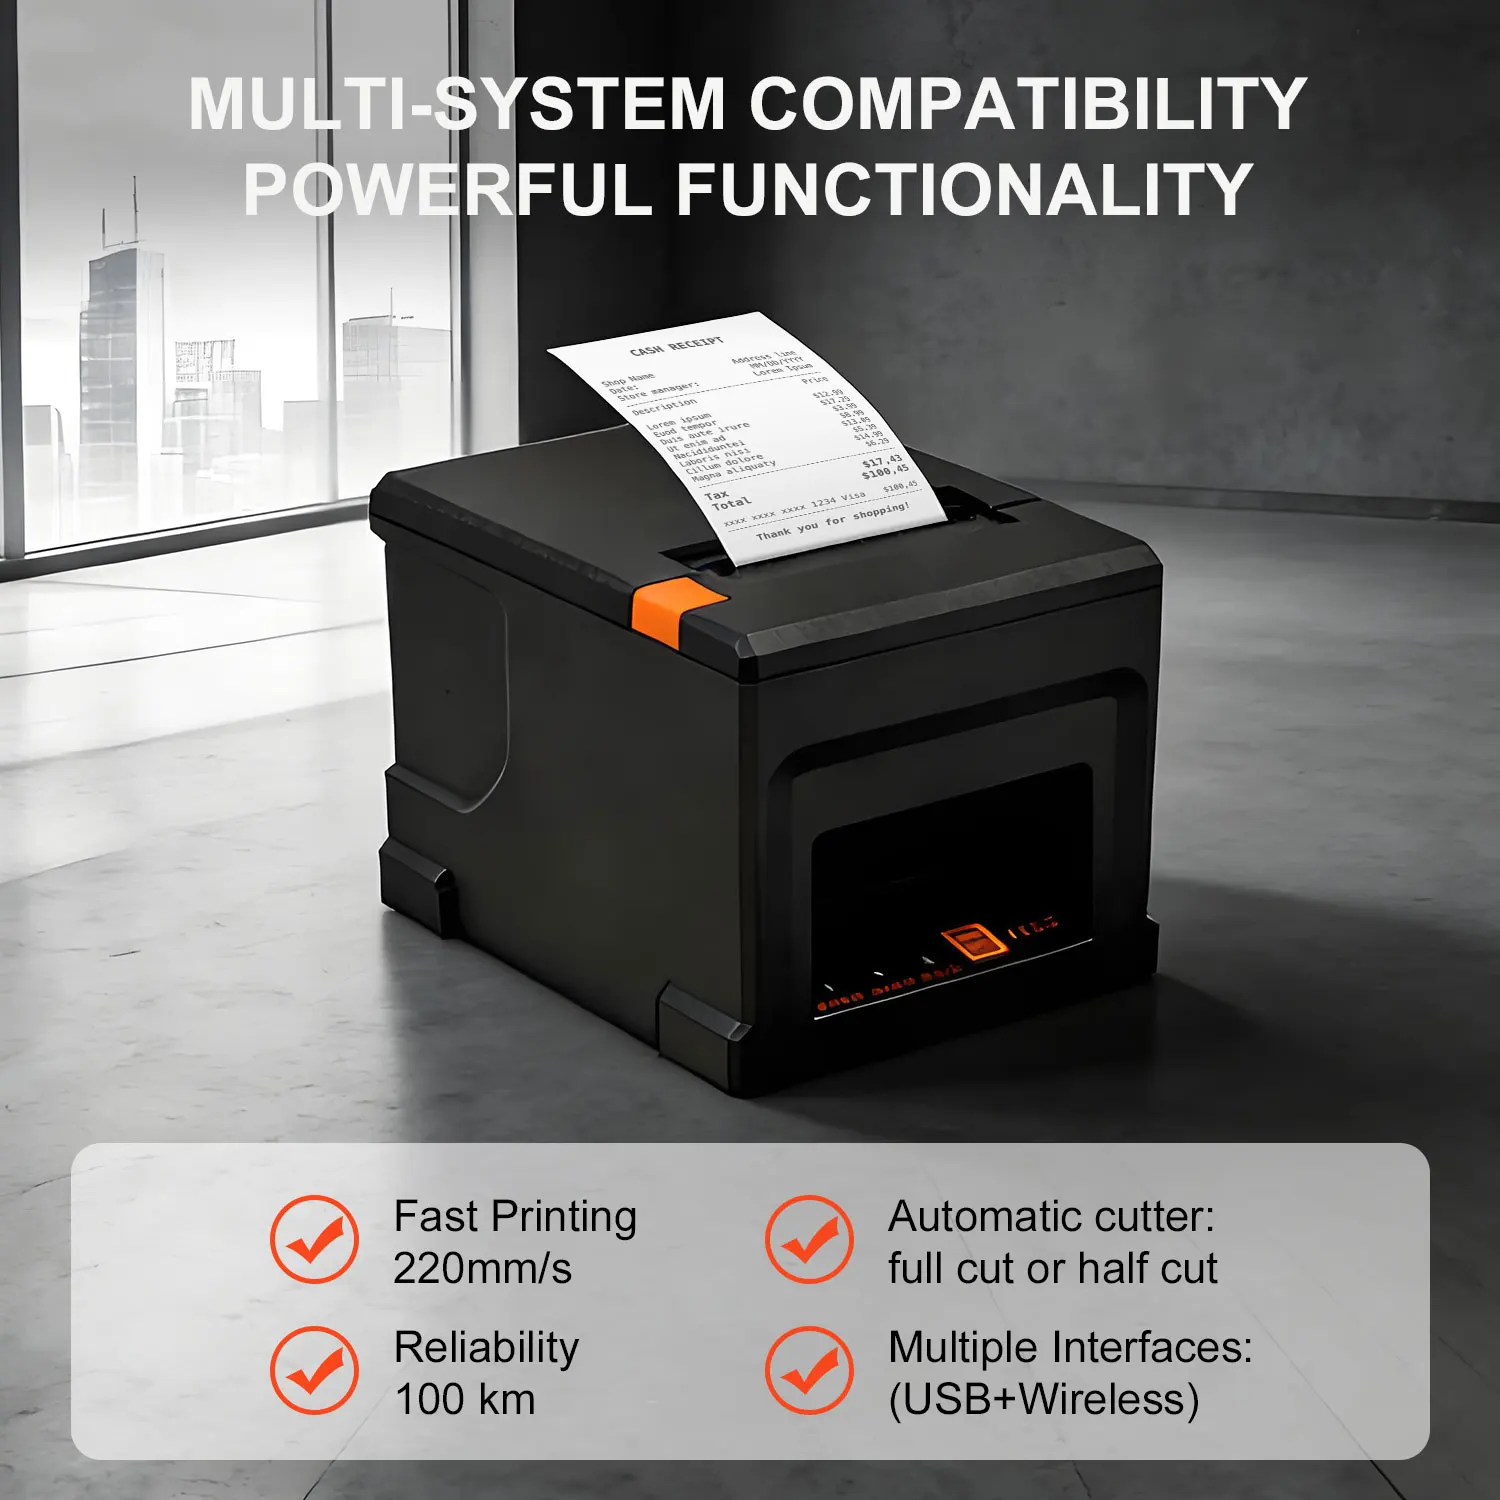
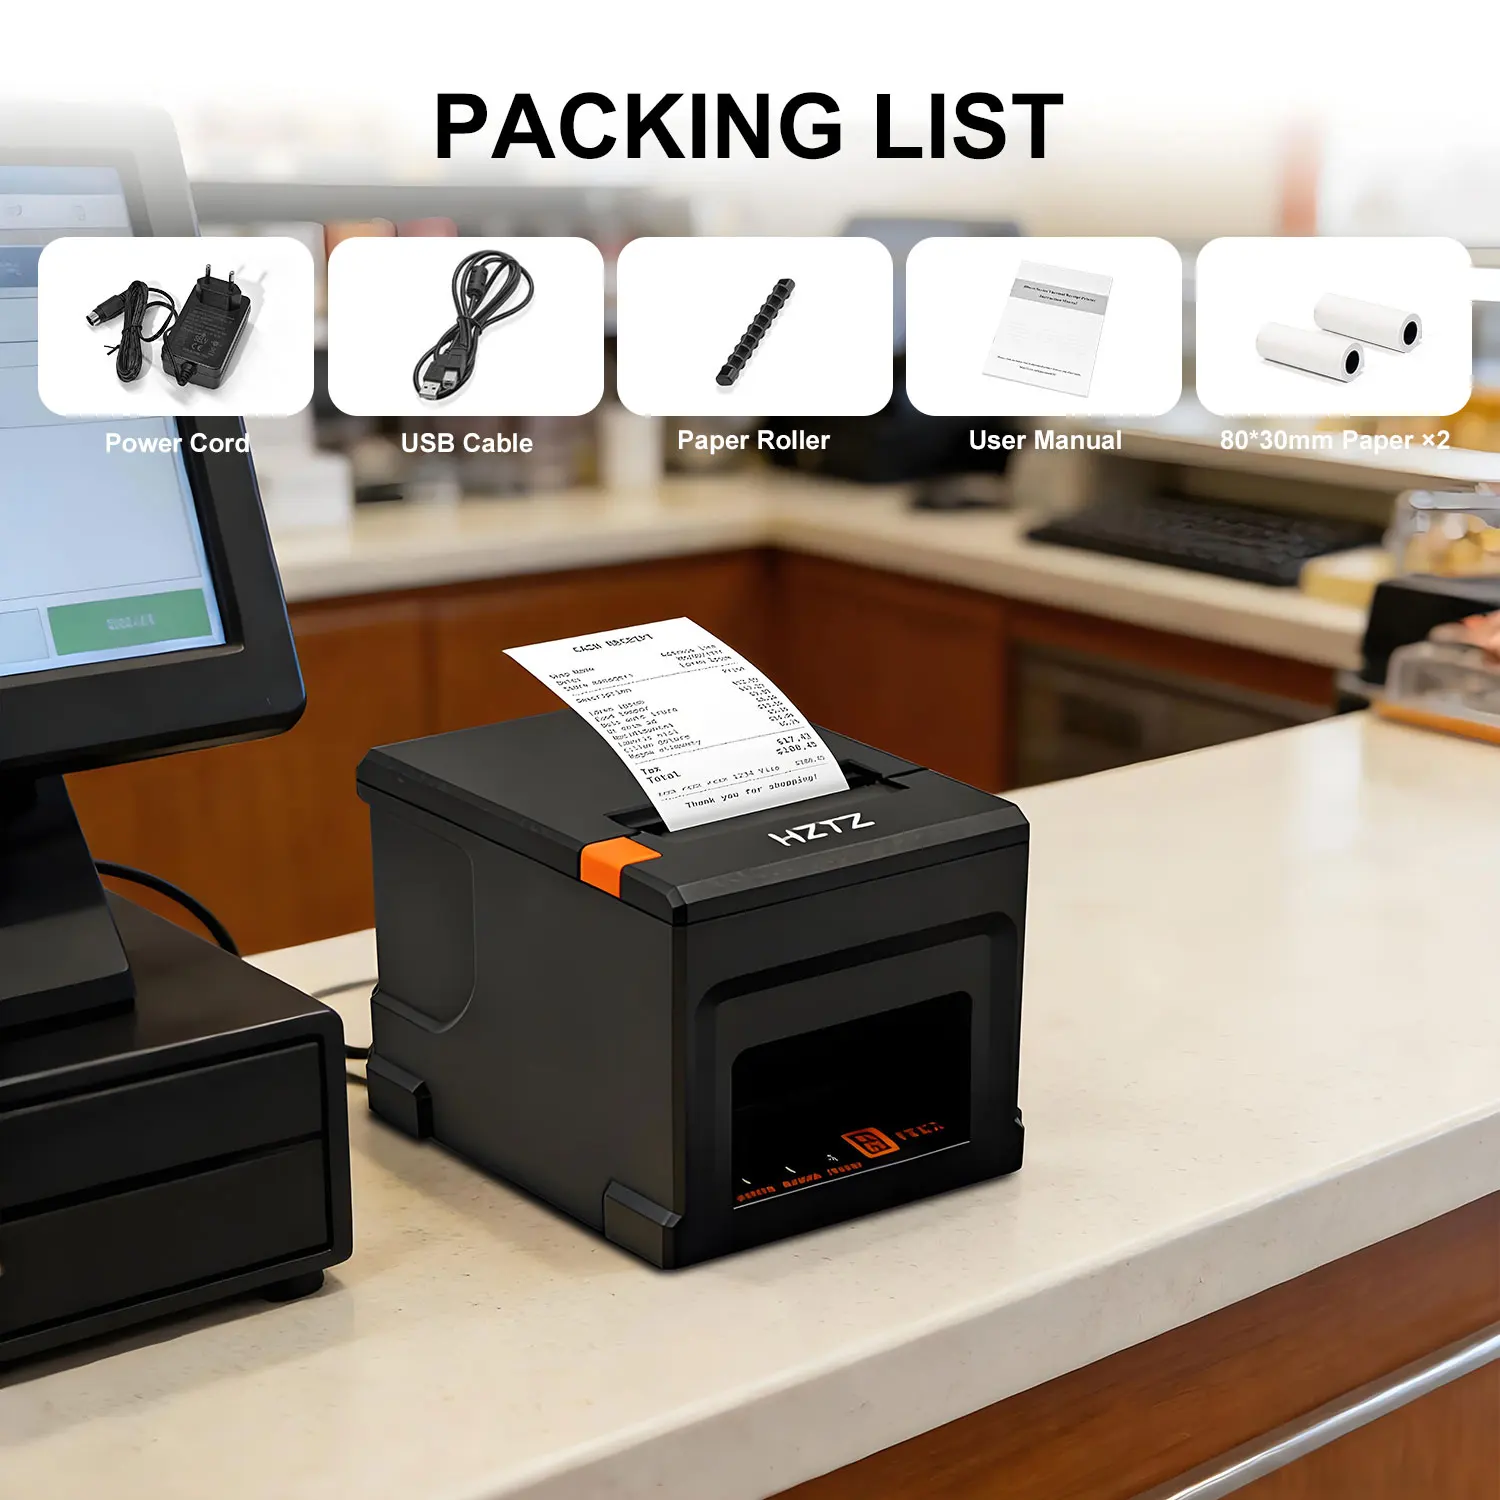
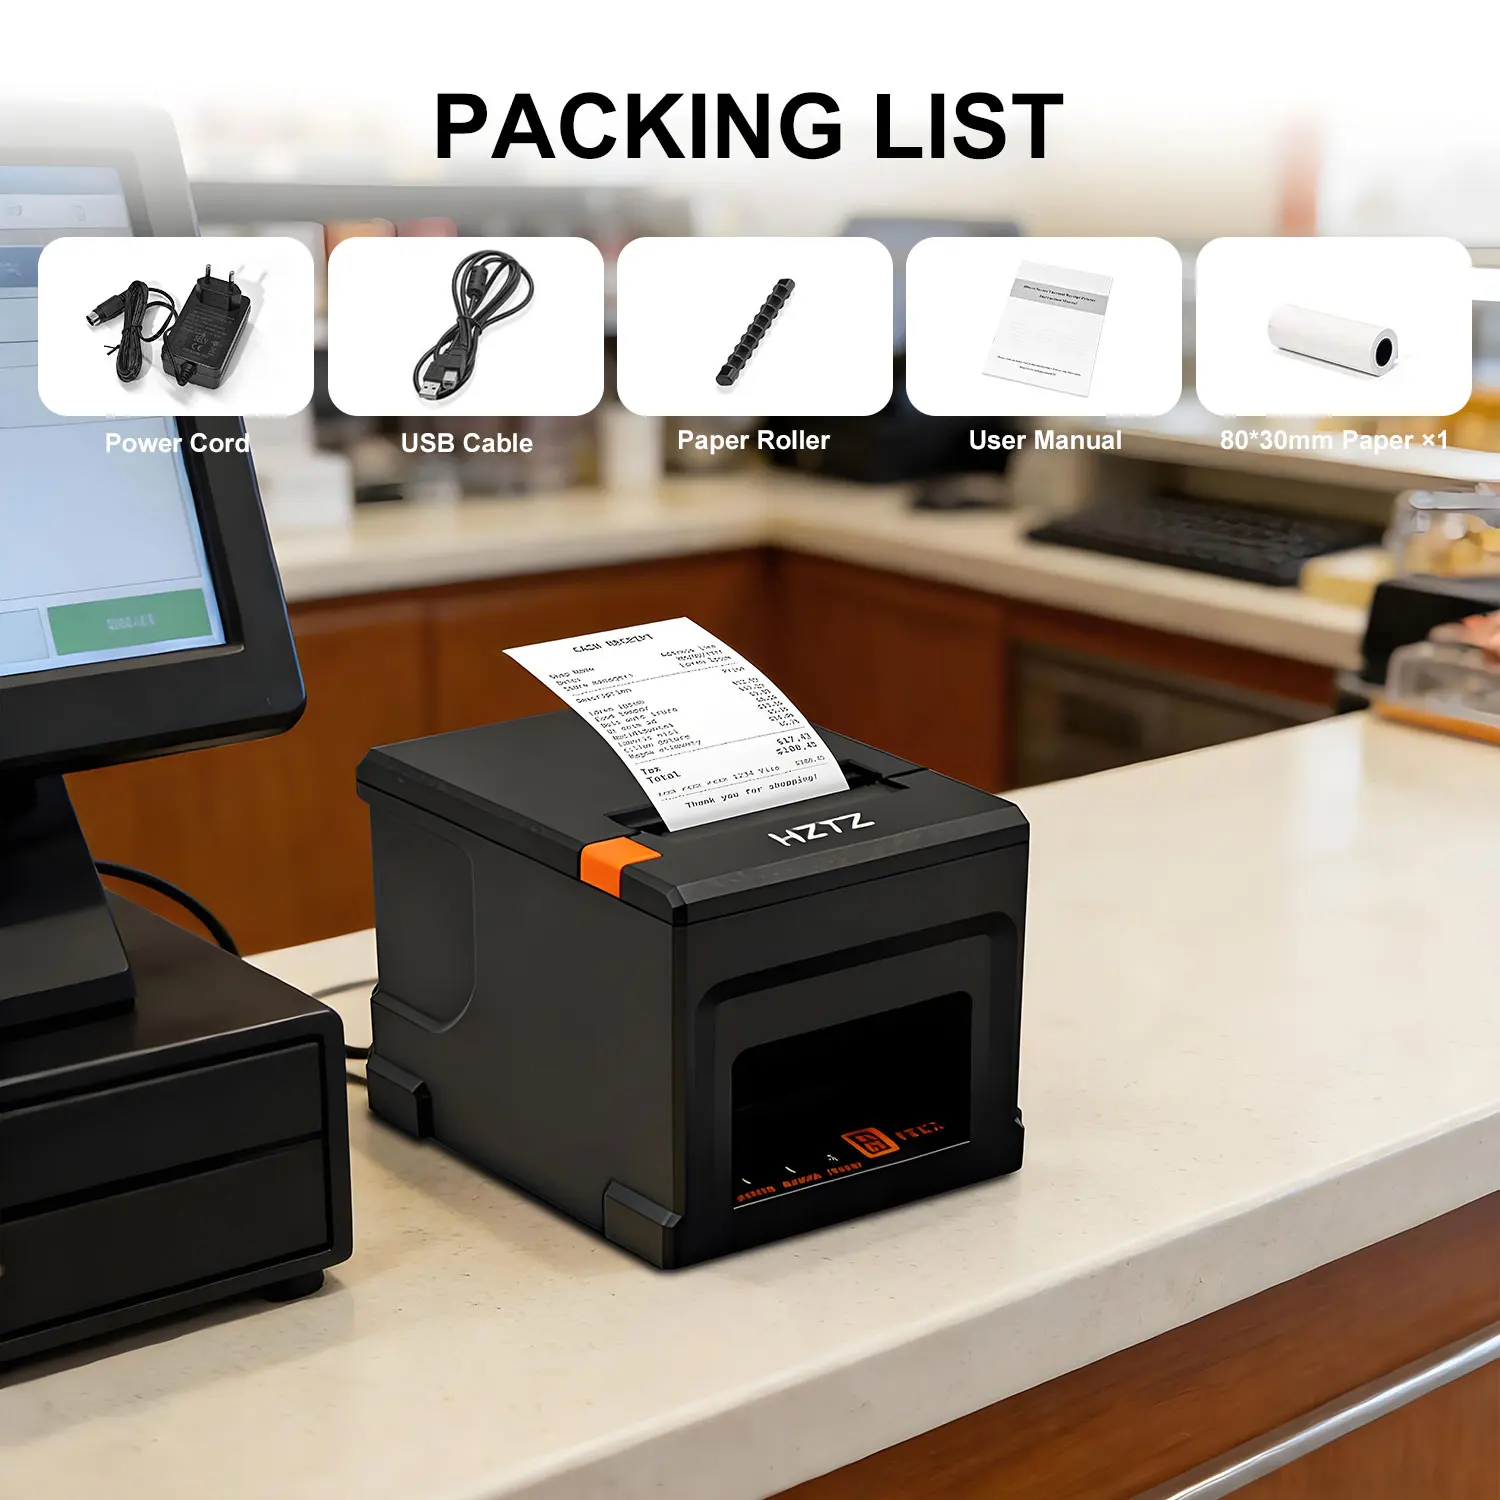
📦 Unboxing Check
1 x Thermal Receipt Printer
1 x Original Power Adapter (AC 110-220V)
1 x USB Data Cable
1 x Test Thermal Paper Roll
1 x This Quick Start Guide
⚠️ IMPORTANT PURCHASE NOTICE (READ BEFORE USE)
To avoid unnecessary returns, please confirm the following compatibility requirements carefully before placing your order:
Linux System Installation: Linux driver requires manual configuration and technical knowledge. It is NOT recommended for users without IT experience.
iOS Compatibility: Only works with iOS apps that support standard ESC/POS commands. Not all third-party POS software is compatible. Please confirm your app supports this printer first.
LAN Network Printing: Requires basic network knowledge to configure IP addresses and ports. If you are not familiar with network settings, we recommend using USB or Bluetooth connection.
Unsupported Systems: This printer does NOT support macOS systems. Please do not purchase if you use a Mac computer.
⚠️ MANDATORY SAFETY WARNINGS (Violation Will Void Warranty)
Print Head High Temperature: Never touch the print head during printing or within 10 minutes after shutdown to avoid burns.
Power Off Before Operation: Always turn off the printer and unplug the power cord before connecting/disconnecting cables or cleaning the device.
No Unauthorized Modification: Do not disassemble or repair the printer by yourself. Contact official customer service for all issues.
Environment Requirements: Do not use the printer in humid environments, near heat sources, or in direct sunlight.
📊 Key Product Specifications
Print Method: Direct Thermal (No Ink/Ribbon Needed)
Print Speed: Up to 220mm/s
Supported Paper: Standard 80mm Thermal Roll Paper
Interfaces: 3-in-1: USB + LAN + Bluetooth
Core Feature: Auto Cutter (1.5 million cuts lifespan)
Compatible Systems: All Windows versions, Linux, iOS, Android
🚀 3-Step Quick Setup
Step 1: Install Thermal Paper
MOST COMMON MISTAKE: Paper loaded upside down causes blank prints
Press the cover release button on the top to open the paper compartment
Place the paper roll with the shiny side facing up (this is the printable side)
Pull out 5cm of paper, then close the cover firmly until you hear a "click"
Press the FEED button once. Normal paper feeding indicates successful installation
Step 2: Connect to Your Device
USB Connection (Most Stable, Recommended for Beginners): Connect the printer to your computer with the USB cable, then install the driver
Bluetooth Connection (Phones/Tablets): Turn on printer Bluetooth → Search for devices on your phone → Select "POS-8360" → Pairing code: 0000 or 1234
LAN Connection (Network Printing): Plug in the Ethernet cable. Press and hold the FEED button for 5 seconds to print a self-test page, which will show the automatically assigned IP address. Note: Requires network configuration knowledge
Step 3: Install Driver (For Computers Only)
Download the latest printer driver by contacting our customer service directly.
Windows: Run the installer, select the corresponding connection port when prompted, and set the printer as your default printer after installation
Linux: Driver requires manual installation. Please contact customer service for detailed instructions suitable for your Linux distribution
🎛️ Basic Operations
Power On/Off: Press the power button after connecting power; press and hold for 3 seconds to turn off
Feed Paper: Press the FEED button once to feed a small amount of paper; press and hold to feed continuously
Print Self-Test Page: Press and hold the FEED button for 5 seconds to view printer status, IP address, and firmware version
Restart: If the printer freezes, turn off the power, wait 10 seconds, then turn it back on
🧹 Essential Maintenance (Extend Product Lifespan)
Clean the Print Head (Monthly or When Print Quality Degrades)
Turn off the printer and unplug the power cord. Wait 10 minutes for the print head to cool completely
Open the paper compartment and gently wipe the print head surface with a clean cotton swab dipped in 70%+ isopropyl alcohol
Wait for the alcohol to evaporate completely (about 2 minutes) before reloading paper and turning on the printer
PROHIBITED: Cleaning with water, acetone; scratching the print head with sharp objects; touching the print head with bare hands
❗ Common Troubleshooting Guide
Blank Prints
Possible causes: Paper loaded upside down; Paper roll empty
Solutions: Flip the paper roll (shiny side up); Replace with a new paper roll
Fuzzy Prints or White Stripes on Prints
Possible causes: Dirty print head; Poor quality paper
Solutions: Clean the print head as instructed above; Use high-quality 80mm thermal paper
No Paper Feeding or Paper Jam
Possible causes: Paper cover not closed tightly; Paper roll stuck
Solutions: Close the paper cover firmly; Open the cover and remove the jammed paper
Auto Cutter Not Working
Possible cause: Paper scraps stuck in the cutter area
Solution: Turn off the power, open the cover, and carefully remove paper scraps from the cutter
Bluetooth Connection Failed
Possible causes: Distance too far; Already connected to another device
Solutions: Keep within 10 meters of the printer; Disconnect from other devices first


